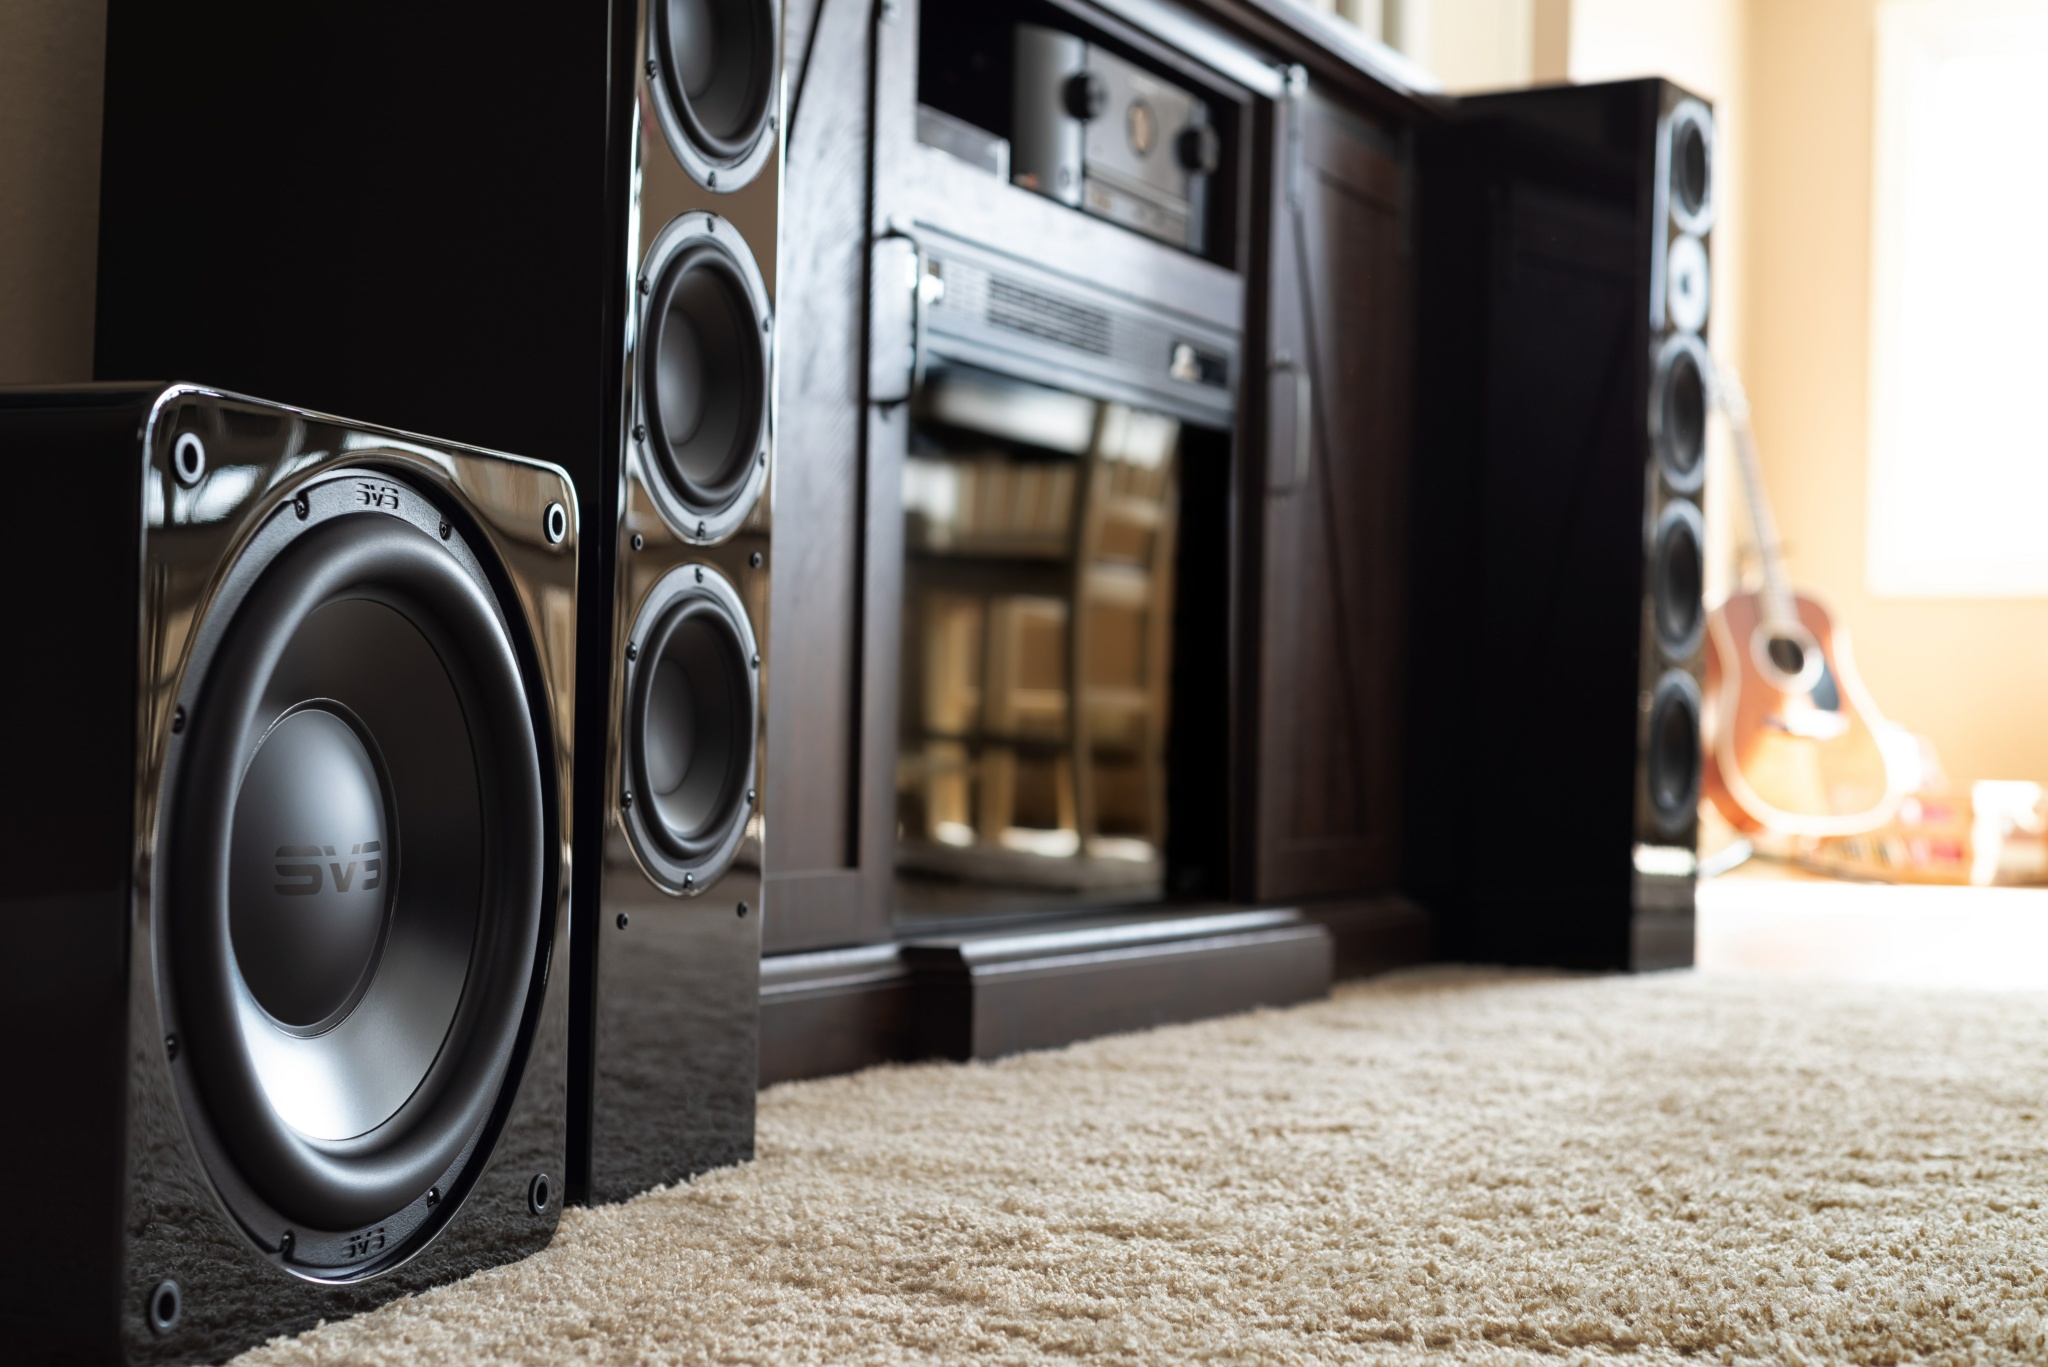
A good powered subwoofer can add an entirely new dimension to any audio system by plumbing the low-frequency depths found in many movie soundtracks and music recordings. Massive explosions, roaring rockets, and bumping synth bass can really rattle your bones, but only if you include a good sub in your system.
However, it’s important to balance all that bass goodness with the rest of the speakers. Big bass is a lot of fun, but it shouldn’t overpower the rest of the sonic spectrum, nor should it wimp out just when the hero blows up the bad guys.
Just like Goldilocks in her encounter with the three bears, you want the bass to be just right. Thankfully, it’s not difficult to achieve that worthy goal. Just follow these simple steps to bass perfection.
Home Theater
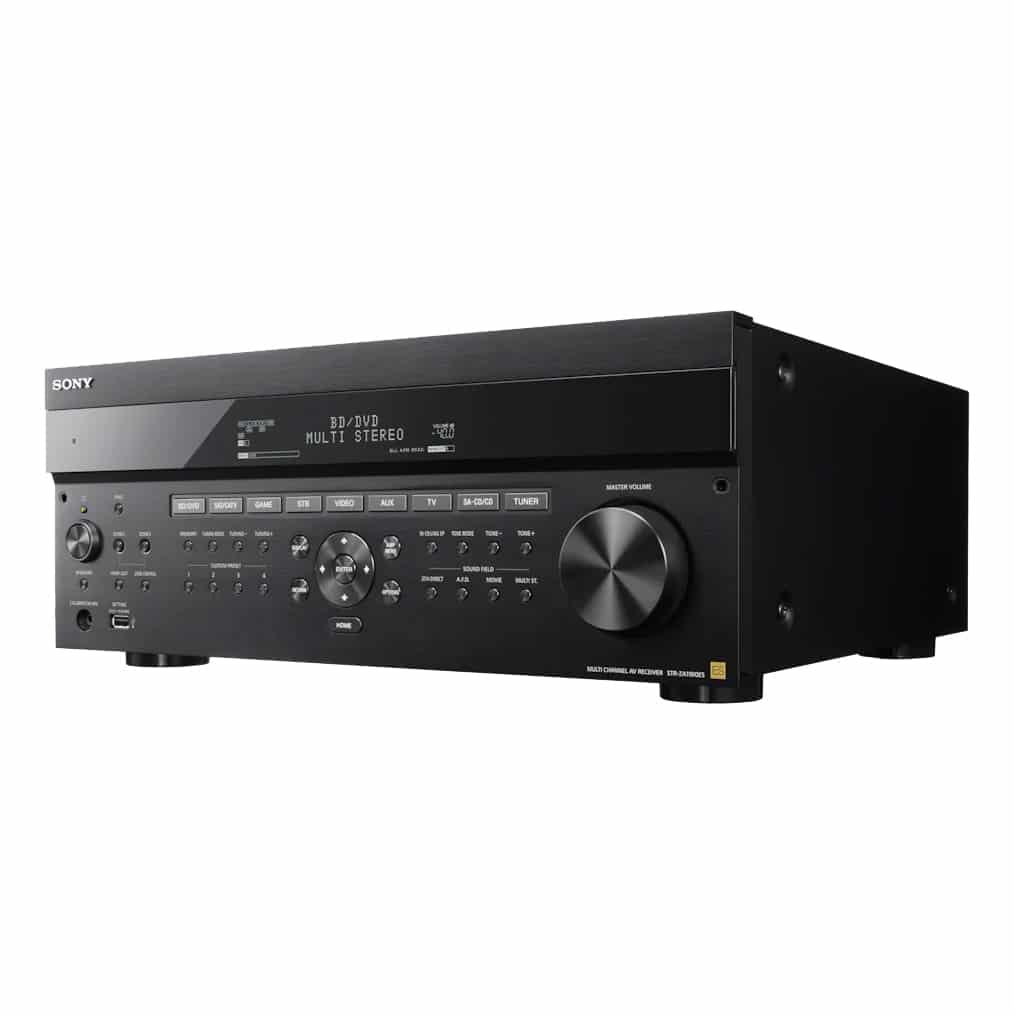
We’ll start with a home-theater system that includes an AV receiver or preamp/processor with a dedicated subwoofer output that is connected to the sub’s input. Also, we’ll assume the sub is self-powered—that is, it has a built-in power amplifier.
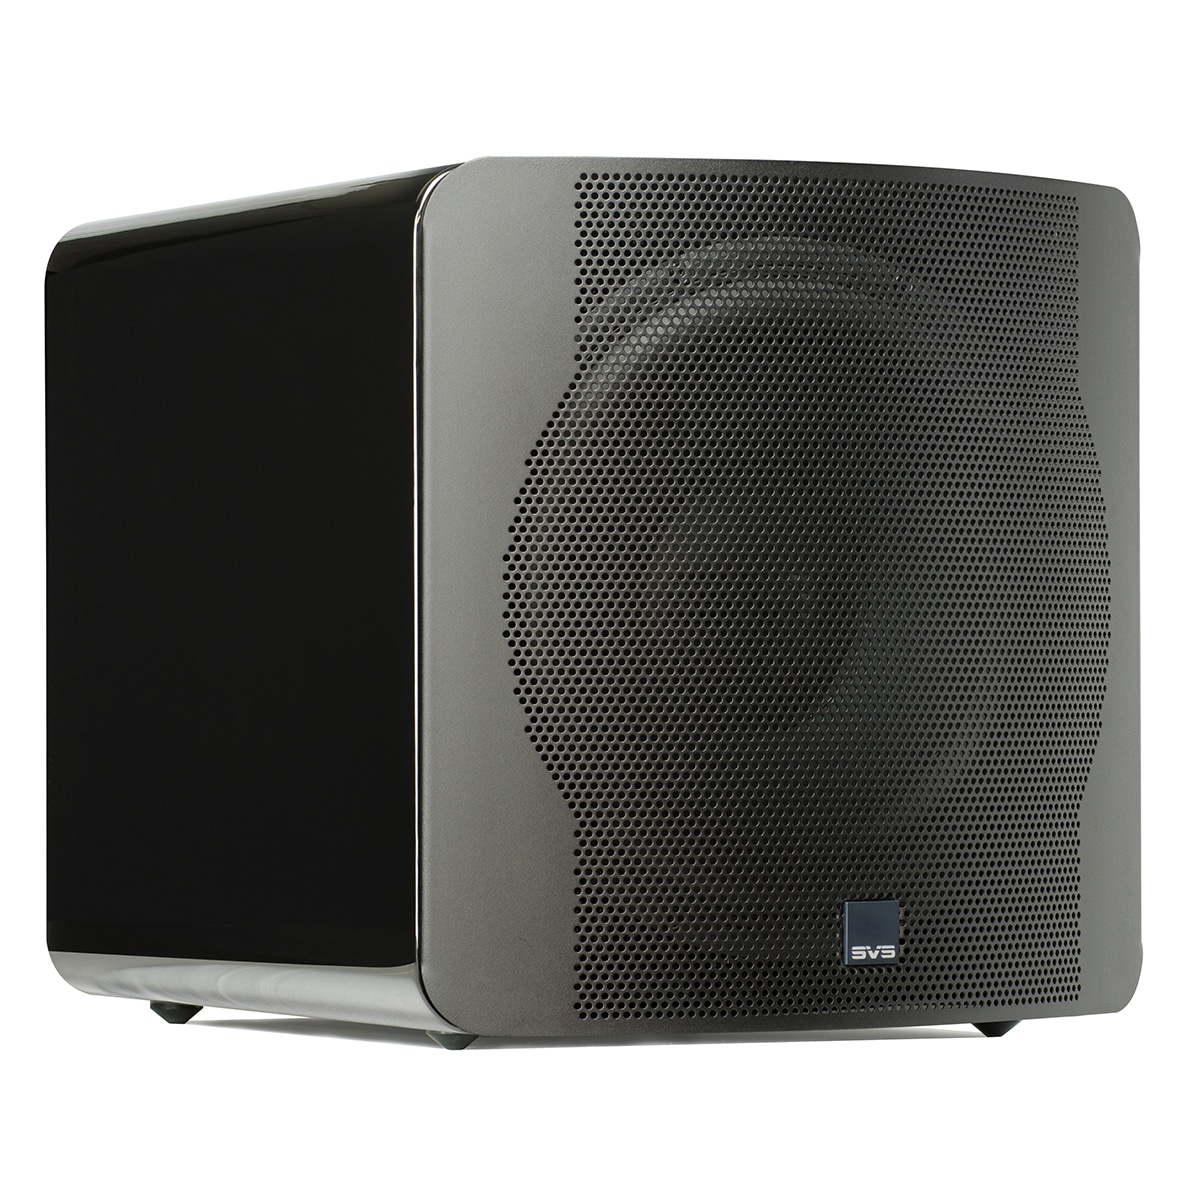
1. Does the sub have an analog or digital volume control?
If it’s analog with a rotary knob, set it to its 12 or 1 o’clock position, about midway in its range.
If it’s digital, the control might be in an app from the manufacturer; start at a setting of -15 (assuming the max value is 0).
These settings will give the AVR or pre/pro enough leeway to set the final sub level correctly during its auto-setup routine.
2. Most subwoofers also have phase and low-pass filter (or LPF) controls.
Set phase to 0.
Set LPF to its highest frequency or off. If the LPF control is a rotary knob, turn it to its fully clockwise position, which might be marked “LFE.” If the LPF control is digital, disable it entirely.
3. Run the auto-setup routine in the AVR or pre/pro, which will play test tones from each speaker and the subwoofer.
4. After the routine is complete, take a look at the subwoofer level within the AVR or pre/pro. In Denon, Marantz, and Onkyo AVRs, this value ranges from -12 to +12; in Pioneer and Yamaha AVRs, it’s between -10 and +10.
5. Did the AVR automatically set the sub level at its lowest value?
If so, turn down the sub’s onboard level control somewhat and run the auto-setup routine again. Repeat until the automated sub level in the AVR or pre/pro is not the lowest possible value.
This assures that the sub volume is correct as far as the auto-setup routine is concerned.
6. Take a look at the bass-management settings in the AVR or pre/pro—specifically, whether or not the auto-setup routine identified any of the main speakers as “large.”
Make sure all main speakers are set to “small” so the low frequencies in all main channels are redirected to the sub, which is much better at reproducing those low frequencies than just about any main speaker. (For more on this, see SVS’s article “Should Speakers Be Set to Large or Small on an AV Receiver?”
7. Once all the main speakers are set to “small,” set the crossover for each one, which determines the point at which low frequencies start being redirected to the sub.
This depends on the make and model of each speaker. Set the crossover 10-15 Hz above the speaker’s measured or specified bass extension. For example, if the speaker’s bass extension is 50 Hz (-3 dB), the crossover for that speaker should be set to 60-65 Hz.
8. Play some of your favorite content, including tracks with lots of low bass.
How does it sound to you? Is the bass well integrated with the rest of the sonic spectrum? Does its impact seem lacking?
If you want a bit more, try increasing the level by 2-4 dB. But be careful; if you goose it more than that, the bass will likely overwhelm the rest of the sound.
9. If you want to increase the sub level, should you do it in the AVR or on the sub itself?
If the sub has an analog rotary volume control, adjust the level in the AVR, which offers more precise and repeatable settings.
If the sub provides a digital level control, it doesn’t matter where you make the adjustment.
Two-Channel Audio
For those who enjoy two-channel audio, a subwoofer (or two) is often a big improvement when added to the two main speakers. In this case, there is no bass management, no time alignment, and no automatic level matching. The main speakers receive a full-range signal from the electronics, and the preamp typically does not provide a separate subwoofer output.
1. If the preamp has dual outputs, connect one set to the power amp and the other set to the sub(s). If it has only one pair of outputs, use “Y” splitters to send the signal to the power amp and sub(s) from the same outputs.
2. Look up the bass extension of your main speakers—that is, the -3 dB point at the low end.
Ideally, you can find this in the measurements from a review by a reputable publication; otherwise, find it in the manufacturer’s specs.
3. Set the sub’s internal low-pass filter cutoff frequency to the same value as the main speaker’s bass extension. For example, if the speakers bass extension is 45 Hz (-3 dB), set the sub’s LPF to 45 Hz.
4. Some subs—such as those from SVS—also offer a control that adjusts the slope of the LPF above the cutoff point, which greatly helps to integrate the sub(s) with the main speakers.
If the speakers are ported, their cutoff slope is 24 dB/octave; if they are sealed, their cutoff slope is 12 dB/octave.
Set the sub’s cutoff slope to match the speakers’.
5. Play some favorite music and adjust the sub’s level control by ear until it sounds just right—blending, not dominating.
You can also play around with the sub’s LPF cutoff setting, maybe nudging it up a bit to overlap with the main speakers. But watch out; if you have too much overlap, you’ll get one-note, boomy bass and possibly phase problems.
6. If your main speakers do not have low bass extension—say, somewhere in the range from 50 to 80 Hz—it’s a good idea to have two subs, which give you stereo bass.
On the other hand, if your speakers reach down as low as 30 Hz or so, a single sub is fine, since frequencies that low are not directional.
Don’t Overdo It
Many audio enthusiasts really love to crank up the bass to shake the rafters. But that’s like a steady diet of candy—it feels good for a while, but it’s ultimately fatiguing. Also, it’s not how the content creator intended it to sound.
This is completely analogous to video calibration. Many people watch their video display in the so-called “vivid” or “torch” mode, which looks very bright and wildly colorful, but it’s tiring on the eyes and not what the content creator intended you to see. A calibrated video display might look a bit dull at first, but it’s far more natural, and once most viewers get used to it, they can’t go back to torch mode.
Likewise, an overly bass-heavy presentation isn’t an accurate reflection of what the artist intended; in fact, it can be quite distracting. The goal of any audio system is to immerse listeners in the content so they forget about the speakers and subwoofers and simply enjoy the experience. If you follow our recommended procedures to calibrate your sub, we’re sure you’ll come to appreciate the accuracy of balanced bass that lets you lose yourself in your favorite music and movies for hours on end.
Written by T.V.S. Pro
T.V.S. Pro is a sales and install organization specializing in providing best value professional audio and video products and solutions.
Every year, Steve Bollinger, on behalf of Angel Flight West, helps bring smiles and needed supplies to an elementary school, in need, in Utah. It’s called Santa Flight – where Santa and his helpers fly in a private plane to visit the students and deliver the gifts – with…
The Utah State Board of Education (USBE) contracted TVS Pro to upgrade their production studio with a control room that would broadcast/stream various meetings and trainings. The USBE had remodeled the space but TVS Pro upgraded their existing equipment and provided additional components for better productivity…
The Utah State Board of Education (USBE) contracted TVS Pro to upgrade their production studio with a control room that would broadcast/stream various meetings and trainings. The USBE had remodeled the space but TVS Pro upgraded their existing equipment and provided additional components for better productivity…
For our TVS Pro main showroom we were looking for a way to display and actively demo a space that would support both Zoom and Microsoft Teams. for walk-in customers. For this, we created two spaces on our showroom floor to work together for a meeting demonstration. For one space, we used a Logitech Rally Bar, …


0 Comments